 - 640x640 version image - 1000x1000 version image
 Deep Pocket Sled
- 640x640 version image - 1000x1000 version image
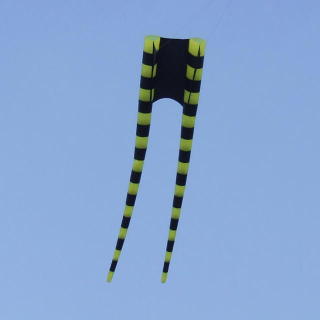
This was an experimental variation on the Buck Childers Pocket Sled. It seemed like a good idea at the time – "Take a Pocket Sled and extend the pockets into tapered tube tails" – but... the flight characteristics turned out to be somewhat disappointing.
Launching it by holding it out and letting the wind take it was out of the question, so a long launch on, say, 50-100 feet of line was the only way to get it to inflate and take off . It would sort of fly, in the sense that it would take a while to fall down, but even so, it would just go nuts, looping, sweeping sideways, spinning, turning inside out and back again, and so on.
Sometimes it would flip completely inside out, which the regular Pocket Sleds are sometimes inclined to do, but more often one of the keels or the other would wrap around the outside of the tube and the bridle line would come out between the tubes, as in the second photo, below.
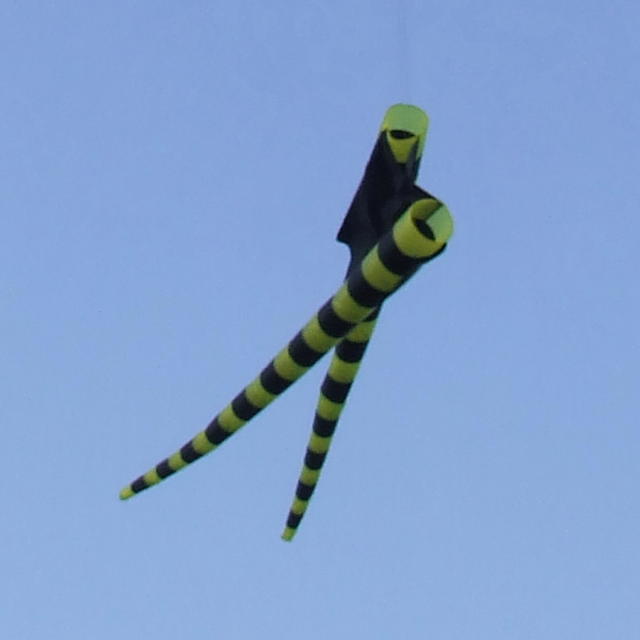
 (The blurry green line is the flying line)
It was, oddly enough, comparatively stable when it was twisted up like that.
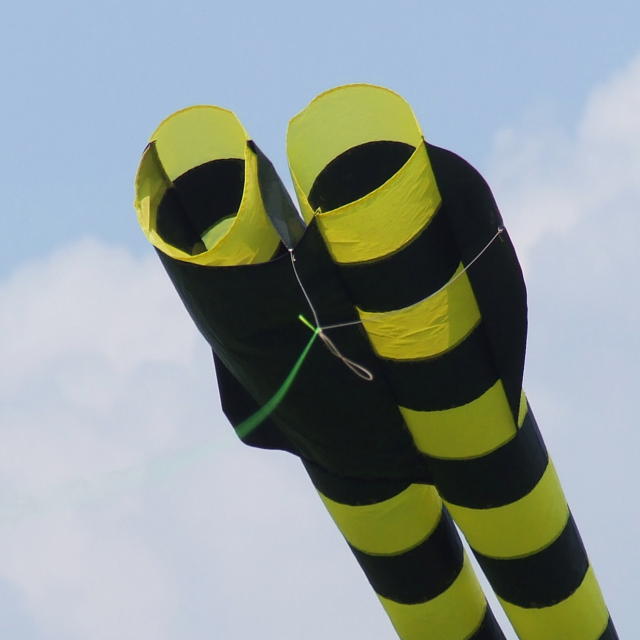
I would consider putting in something like a thin fiberglass batten in a tunnel across the front to keep the two tubes separated, but that would defeat the purpose of having a kite that you can stuff into a small space. What I'll probably do (to recoup the loss of time and material) is take a seam-ripper to the tubes and detach them from the rest of the kite at the trailing end of the third black ring from the leading edge. If I'm lucky, there may be enough taper in the pockets to provide back-pressure and keep them inflated. The tail ends could then be be refitted into twin tails or drogues for other kites. If nothing else went right, the tubes nearly always stayed well-inflated, keeping them round and straight.
The other misfeature that I didn't notice until I got it all sewed together was that it looked like a weird pair of "long johns" underwear, perhaps for a clown, which certainly eroded the "cool" factor I was aiming for.
Videos
"Deep Pocket" Sled experimental kite - part 1
"Deep Pocket" Sled experimental kite - part 2
It was difficult to get many clear still photos of it flying the way it was supposed to, because as soon as it righted itself, it would shoot off outside the picture frame. With the digital camera and the shutter delay, the best thing was to keep clicking away randomly and hope for the best.
Ooh, almost... 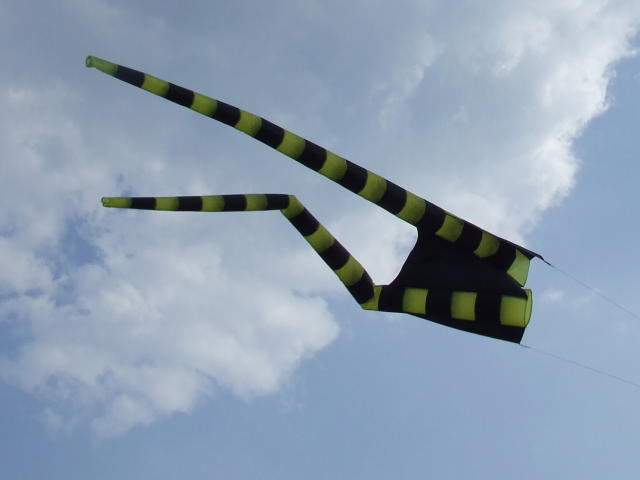
Construction
 |
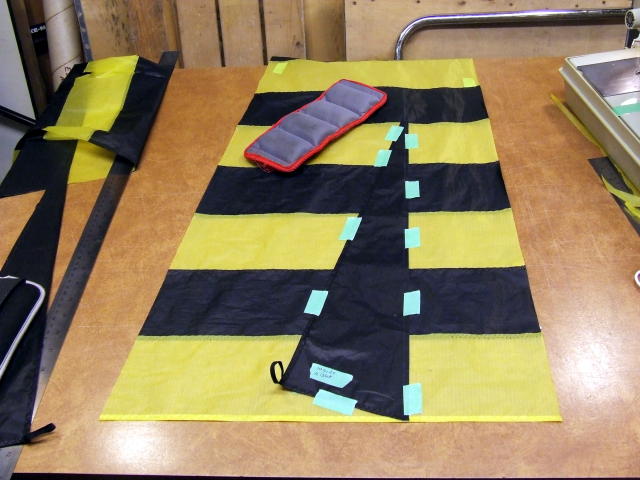
The whole thing was made from two 60 cm pieces of 60" wide ripstop nylon, ie. 60 x 152 cm of black and 60 x 152 cm of yellow. I started with the yellow piece and overlapped the black onto it, 10 cm from the end. I sewed it with a 3-step zigzag (with a spool of black thread on top and a bobbin of yellow thread) and then cut the long yellow piece off the back, close to the edge of the seam. Then I overlapped the yellow onto the black, 20 cm from the edge of the first 60x10 yellow piece, swapped bobbin and top threadcolours, zigzagged, and cut. I repeated that until I had a striped piece approximately 210 (actually, 212.5) cm by 60 cm. It was very important to have an odd number of stripes, so as to end up with the same colour ( yellow) at both ends, because half of it gets flipped end-for-end. In this photo I'm preparing to hotcut the edge, because some of the stripes stretched differently. The finished width was 59.5 cm. The rest of the striped piece (about 2/3 of it)is hanging in the dark below the front table edge. |
 |
So, here I've already cut the stripe assembly diagonally into two wedged-shaped pieces, each of which ends up 46 cm wide at one end and 13.5 cm wide at the other. They end up getting sewed into two tubes, 14.3 cm diameter at the front and tapering down to 4.3 cm diameter at the trailing end. If you do the trignometry, you will realize that one edge will be a little over 2 cm longer than the other. That's only about a millimeter or so of difference per stripe, so it was easy enough to keep stretching the shorter edge a bit as I went along sewing the long tube seam. I've taped one of the keels to what will become the outside of one of the tubes, with the long edge positioned 1/3 of the width (of the striped wedge piece) away from the edge. That just to hold it in place while I sew it. Green masking tape is much better than using pins, except that I have to pause to remove the tape as it gets close to the needle. The keel had already been hemmed and had a bridle tab and reinforcement patch sewn into the corner. |
| [no photos] | The center panel (as well as the keels) were cut from the left-over black ripstop. It was approximately 60 x 32 cm, and I cut a shallow scallop into the leading edge, by hotcutting around a bent steel ruler. For the deeper scallop cut into the trailing edge I hotcut it using the rim of a pizza pan as a template. Both edges got finished with black 1/4" double-fold bias tape. I could say the edges were scalloped so as to provide "caternary relief" and prevent flutter, but I mostly just did it to make it look cool. Half of the leftover piece of yellow fabric was used to make a drawsting bag for storage. |